目录1.拉取镜像[code]docker pull nginx [/code]2.创建容器[code]docker docker run -d --name nginx -p 80:80 nginx [/code]Bash 执行 [code]docker ps[/code] 检察
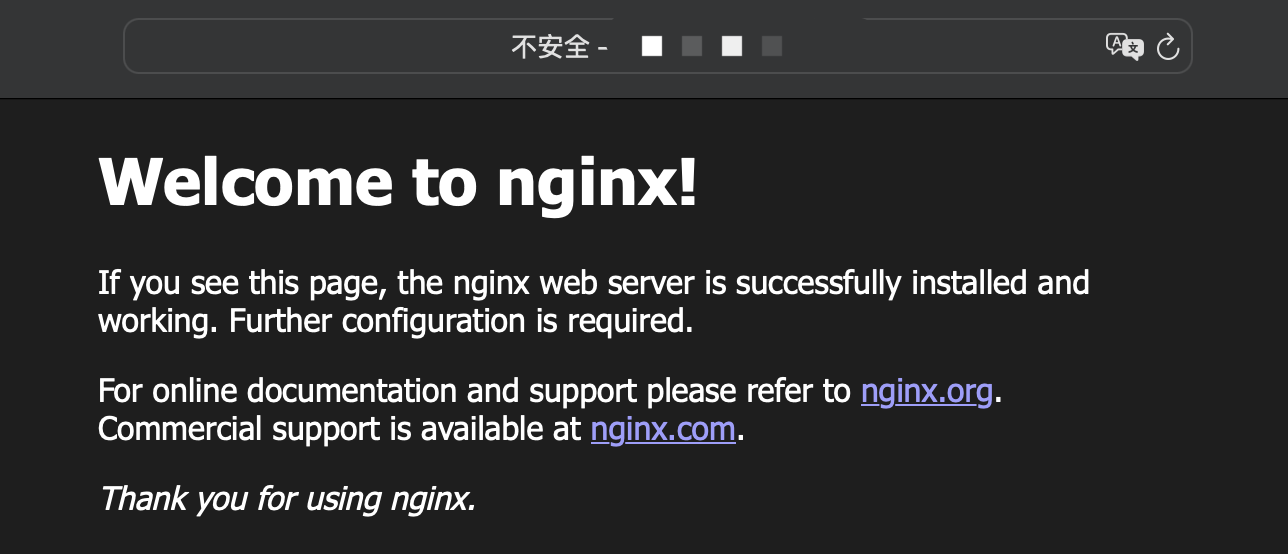
3.创建挂载目录为什么要创建挂载目录?由于docker容器内部有自己的文件系统,在主机创建挂载目录并关联 Nginx 容器的配置目录后,以后可以通过修改主机下的配置目录文件来直接影响到容器内的配置。 [code]mkdir -p /data/nginx/{conf,log,html} [/code]把 Nginx 容器中的文件复制到主机 [code]docker cp nginx:/etc/nginx/nginx.conf /data/nginx/conf/nginx.conf docker cp nginx:/etc/nginx/conf.d /data/nginx/conf/conf.d docker cp nginx:/usr/share/nginx/html /data/nginx/ [/code]4.停止并删除 Nginx 容器执行 [code]docker stop + 容器ID的前两位[/code] [code]docker stop 6a docker rm 6a [/code]5.重新创建容器[code]docker run -d --name nginx -p 80:80 \ -v /data/nginx/conf/nginx.conf:/etc/nginx/nginx.conf \ -v /data/nginx/conf/conf.d:/etc/nginx/conf.d \ -v /data/nginx/log:/var/log/nginx \ -v /data/nginx/html:/usr/share/nginx/html \ --privileged=true nginx [/code]执行[code]docker ps[/code] 检察运行状态,如果启动失败执行 [code]docker logs + 容器ID前两位[/code] 检察报错。 6.验证[code]curl localhost [/code]出现以下内容说明安装成功 [code]<!DOCTYPE html> <html> <head> <title>Welcome to nginx!</title> <style> html { color-scheme: light dark; } body { width: 35em; margin: 0 auto; font-family: Tahoma, Verdana, Arial, sans-serif; } </style> </head> <body> <h1>Welcome to nginx!</h1> <p>If you see this page, the nginx web server is successfully installed and working. Further configuration is required.</p> <p>For online documentation and support please refer to <a href="http://nginx.org/" rel="external nofollow" >nginx.org</a>.<br/> Commercial support is available at <a href="http://nginx.com/" rel="external nofollow" >nginx.com</a>.</p> <p><em>Thank you for using nginx.</em></p> </body> </html> [/code]大概打开欣赏器输入服务器 IP 验证
到此这篇关于Docker 安装 Nginx 并挂载目录的实现示例的文章就介绍到这了,更多相干Docker Nginx挂载目录内容请搜索脚本之家从前的文章或继续欣赏下面的相干文章渴望各人以后多多支持脚本之家! 来源:https://www.jb51.net/server/328936j1v.htm 免责声明:如果侵犯了您的权益,请联系站长,我们会及时删除侵权内容,谢谢合作! |
 /6
/6 
 |手机版|小黑屋|梦想之都-俊月星空
( 粤ICP备18056059号 )|网站地图
|手机版|小黑屋|梦想之都-俊月星空
( 粤ICP备18056059号 )|网站地图
GMT+8, 2025-8-16 01:51 , Processed in 0.030875 second(s), 19 queries .
Powered by Mxzdjyxk! X3.5
© 2001-2025 Discuz! Team.